How to Sharpen a Kitchen Knife on a Whetstone
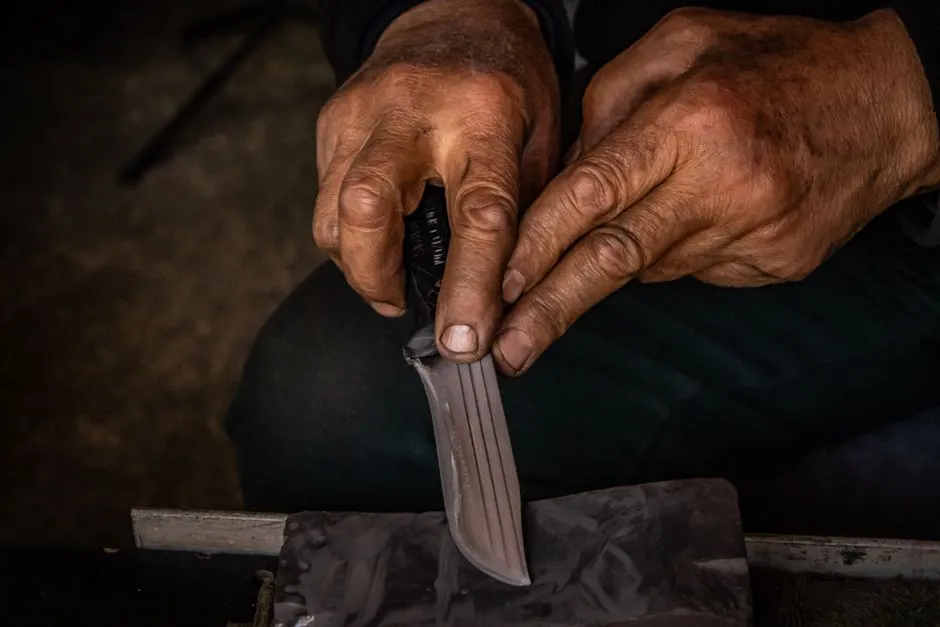
- Stabilize the stone and match the knife before making a stroke
- Identify the stone and knife requirements
- Prepare a safe station
- Confirm contact with a marker test
- Sharpen in sections with consistent mechanics
- Use the burr as evidence, not a trophy
- Refine and deburr deliberately
- Keep the stone flat when its design requires it
- Clean and test the finished edge safely
Stabilize the stone and match the knife before making a stroke
To sharpen a suitable kitchen knife on a whetstone, prepare the stone exactly as its maker directs, secure it on a nonslip base, match the blade’s intended edge angle, and work each section with consistent strokes until the sharpening goal is reached on both sides. Refine the apex on an appropriate finer abrasive, remove the burr carefully, clean everything, and test without touching or sliding a finger along the edge.
Sharpening removes metal and an exposed knife can cause serious injury. Work slowly with clear space, keep hands out of the blade path, and seek qualified instruction for unfamiliar, valuable, damaged, serrated, or asymmetric knives.
Identify the stone and knife requirements
Whetstones differ in abrasive, hardness, binder, flatness needs, and preparation. Some use water and need soaking; others should only be splashed; oil stones use a different lubricant. Follow the stone instructions; do not assume it should be soaked.
Check the knife maker’s guidance for edge geometry and sharpening restrictions. There is no universal angle or grit progression. A thin double-bevel kitchen knife, a single-bevel blade, and a thick utility knife may require different technique.
If the blade is chipped, bent, cracked, deeply corroded, or loose in the handle, stop. Routine sharpening is not structural repair.
Prepare a safe station
Use a dry, uncluttered counter at a comfortable height. Place the stone in a stable holder or on a genuinely nonslip base and verify that it cannot rock or slide. Keep the surrounding floor dry, route no cables through the work area, and arrange water or lubricant so reaching for it does not cross the blade.
Good lighting helps reveal the bevel. Have a towel, cleaning supplies approved for the stone, and a marker if you plan to check bevel contact. Keep children, pets, and distractions away from the station.
Browse sharpening basics before working on a blade with an unfamiliar profile.
Confirm contact with a marker test
Color a small section of the existing bevel with a removable marker. Make one light controlled pass at the intended angle, then inspect where the ink was removed. If ink remains at the shoulder, the stone contacted only nearer the apex, so lower the spine slightly. If ink remains at the apex, the stone contacted the shoulder, so raise the spine slightly. Repeat with light passes and small adjustments until the existing bevel is contacted evenly.
The test shows contact, not the manufacturer’s intended angle. It is most useful when preserving a known existing bevel. Clean marker residue according to the knife and stone guidance before food use.
Sharpen in sections with consistent mechanics
Hold the handle securely and place the fingers of the other hand on the blade face, safely behind the edge and near the section contacting the stone. Never place fingertips over the apex.
Move the blade so the abrasive reaches heel, middle, and tip while maintaining the chosen geometry. Slow strokes make angle drift easier to notice. Use pressure appropriate to the stone and knife, easing as the edge develops. Flood or clean the surface as directed so loose abrasive and metal do not clog the stone.
Counted strokes can help beginners avoid forgetting a section, but equal counts do not guarantee equal metal removal. Curves, pressure, existing wear, and contact length differ. Inspect the bevel and use feedback rather than worshipping the number.
Use the burr as evidence, not a trophy
As one bevel reaches the apex, a small burr may form along the opposite side. Check it with a safe method taught for sharpening—never by running a finger along the edge. Work methodically from heel to tip and confirm the intended section before changing sides.
The goal is not to build the largest possible burr. A large burr means additional metal has been displaced and may require more work to remove. Once the apex has been reached consistently, switch sides and repeat the controlled process.
Not every steel and abrasive produces an obvious burr in the same way. If feedback is unclear, stop and seek instruction rather than applying much more pressure.
Refine and deburr deliberately
Move to a finer stone only when it suits the knife and intended finish. Clean the blade between different abrasives so coarse particles do not contaminate the next surface. Re-establish consistent contact with lighter pressure.
Alternate sides and reduce pressure as the edge approaches completion. Deburring may involve light alternating passes and a suitable finishing medium, depending on the steel, stone, and edge. Stropping is not a substitute for reaching a clean apex, and poor stropping angle can round the result.
Our guide to honing versus sharpening explains why later maintenance should not automatically repeat the full metal-removal process.
Keep the stone flat when its design requires it
Many water stones wear into a hollow through use. A dished surface changes contact and makes consistent geometry difficult. Check flatness using the method recommended by the stone maker and flatten with a compatible tool when needed.
Do not improvise a flattening method that may contaminate or damage the stone. Clean and dry it as directed, and store it where freezing, impact, or trapped moisture will not harm it.
Clean and test the finished edge safely
Wash and dry the knife according to its care instructions so no abrasive, metal residue, marker, or lubricant remains. Clean the work area and stone, then store the knife securely.
Use a controlled cutting test appropriate to the knife, such as slicing suitable food on a stable cutting board. The test should reflect the blade’s normal job. Do not test on a thumbnail, arm hair, or a loose object held in the other hand.
If the knife still wedges, slips, or cuts unevenly, inspect the bevel under good light. Possible causes include incomplete apex formation, an unremoved burr, inconsistent angle, a dished stone, or geometry too thick behind the edge. Correct only what you can identify safely.
A good whetstone session is quiet and stable. Prepare the tool, maintain contact, use evidence, refine with less pressure, and stop before fatigue turns precision into improvisation.